HomeResourcesUncategorizedRouteX – User Handbook
RouteX – User Handbook
RouteX – User Handbook 2024 Matt @AdjusterX RouteX Quick Start Guide: Mastering Efficiency with Your Claims Management System Welcome to the RouteX […]
RouteX - User Handbook 2024

Matt @AdjusterX
RouteX Quick Start Guide: Mastering Efficiency with Your Claims Management System
Welcome to the RouteX Quick Start Guide, your comprehensive resource for mastering RouteX, the flagship tool designed to streamline your claims management processes. In this guide, we’ll break down everything you need to know to set up and fully utilize RouteX for managing claims, organizing calendars, and ensuring smooth operations across your team.

Table Of Content
Introduction to RouteX
- What is RouteX?
- Benefits of Using RouteX
Getting Started: Setting Up RouteX
- Routing Preferences
- Setting Up Deployment Addresses
Importing Claims into RouteX
- Adding Manual Claims
- Importing Claims from Xactanalysis Excel
- Importing Claims from Other Excel Files
Managing Claims
- Using the Landing Pad
- Organizing Claims on the Map
- Scheduling Claims on the Calendar
Advanced Features
- Text Messaging for Claim Updates
- Using Notes to Track Progress
- Chat Function for Insured Communication
CMS Integrations
- Setting Up Automatic Imports
- Managing Imported Claims
RouteX Mobile App
- How to Add RouteX to Your Phone (iOS & Android)
Troubleshooting & FAQs
- Common Issues & Fixes
- Frequently Asked Questions
1. Introduction to RouteX
Routing Preferences
- Begin by selecting your Home Address under the “Routing Preferences” tab. Enter your arrival window and inspection time to prevent double booking of claims ([ROUTE X Quick Start Guide, p. 2]).
Setting Up Deployment Addresses
- When deployed to a temporary address, enter the deployment information under Deployment Address. This will reorient your map and claim data based on the new location. Once the deployment is complete, toggle off the active button to return to your home address ([ROUTE X Quick Start Guide, p. 3]).
Key Benefits
- Automates claim imports from ExactAnalysis and Symbility
- Prevent double bookings and schedule clashes.
- Use real-time weather forecasts to plan inspections.
- Manage claims on the go with the mobile app.
2. Getting Started: Setting Up RouteX
Routing Preferences
- Begin by selecting your Home Address under the “Routing Preferences” tab.
- Set your Arrival Window and Inspection Time. This helps prevent claims from being double-booked by setting accurate windows for inspection times.
Setting Up Deployment Addresses
- If you’re deployed to a different location, enter your Deployment Address. This re-orients your map to reflect your new zip code and ensures all new claims are scheduled around the deployment area.
- Be sure to switch off the deployment mode when you return to your home address.
3. Importing Claims into RouteX
Adding Manual Claims
- To manually add claims, fill in the pertinent fields (at a minimum, name and address) in the new claim form. Once saved, the claim will appear on the Landing Pad for further scheduling and management ([ROUTE X Quick Start Guide, p. 6]).
Importing Claims from Xactanalysis Excel
- First, export claims from Xactanalysis by clicking “Download Details to Excel.” After saving the file, upload it into RouteX by selecting the import option. Claims will then populate on the Landing Pad for further action ([ROUTE X Quick Start Guide, p. 7]).
Importing Claims from Other Excel Files
- Use the provided RouteX Excel template to input claim details. Make sure the headers in the template are not modified. Upload the file, and RouteX will populate the claims on the Landing Pad for processing ([ROUTE X Quick Start Guide, p. 11]).
4. Managing Claims
Using the Landing Pad
- The Landing Pad displays all newly imported or manually entered claims. Claims will show their distance from your home or deployment address, helping you optimize scheduling. You can remove claims by marking them as canceled, or simply drag and drop them onto the calendar for scheduling ([ROUTE X Quick Start Guide, p. 12]).
Organizing Claims on the Map
- After importing, claims are displayed as map pins. Clicking on a pin provides you with detailed information about the claim. The color of the pin changes based on the claim’s status (e.g., blue for new claims) ([ROUTE X Quick Start Guide, p. 14]).
Scheduling Claims on the Calendar
- Drag and drop claims from the Landing Pad to the calendar. RouteX includes a 16-day weather forecast for each zip code, helping you plan inspections optimally. The Quick Actions box appears once a claim is scheduled, allowing you to set inspection details or add notes ([ROUTE X Quick Start Guide, p. 16]).
5. Advanced Features
Text Messaging for Claim Updates
- RouteX allows you to send automatic text messages to insured parties to confirm appointment dates and times. The insured can respond by confirming or requesting changes. You can manually send messages as well if the automatic option is turned off ([ROUTE X Quick Start Guide, p. 20]).
Using Notes to Track Progress
- The Notes Tab lets you track all notes related to a claim. After copying notes into your CMS system, they will disappear from the notes section in RouteX. This ensures that you stay organized and up-to-date on claim details ([ROUTE X Quick Start Guide, p. 32]).
Chat Function for Insured Communication
- The Chat feature enables direct communication with insured parties. Messages sent via text appear in the chat window, allowing you to confirm or reschedule appointments directly through RouteX. If the insured sends a message, an alert will appear on the chat tab ([ROUTE X Quick Start Guide, p. 34]).
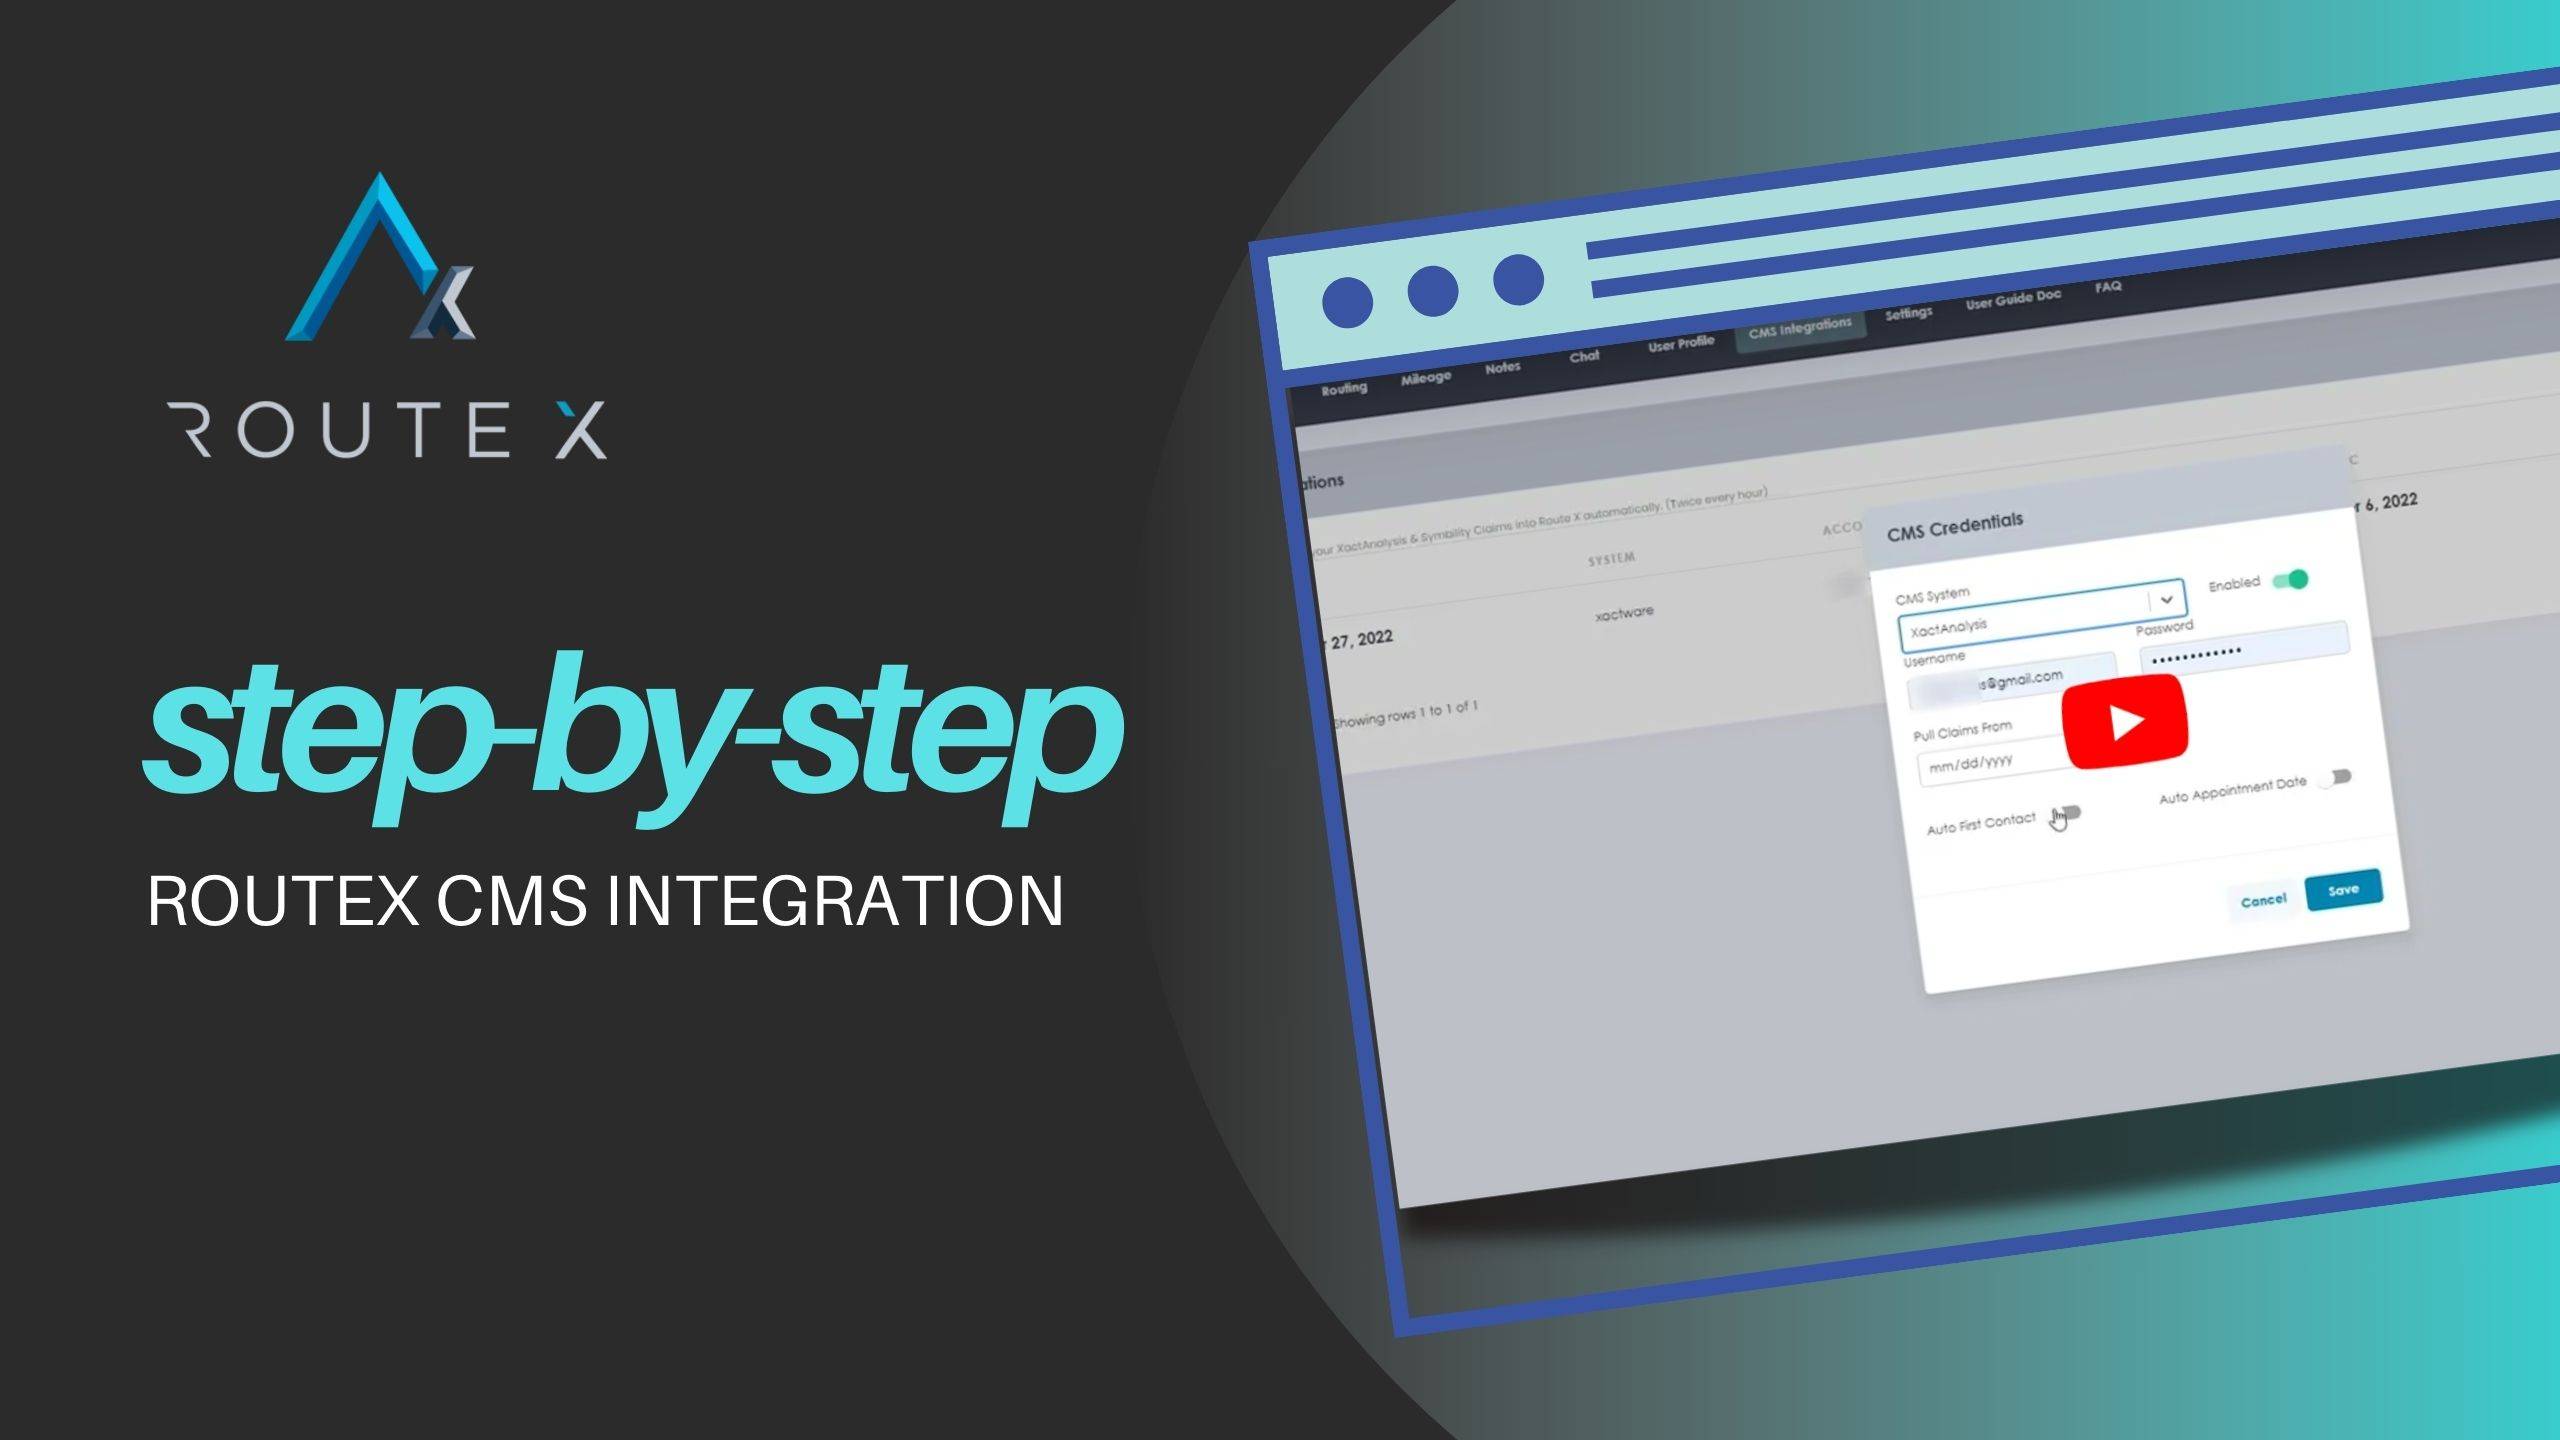
6. CMS Integrations
Setting Up Automatic Imports
- With RouteX, you can automate the import of claims from your CMS system. Set your CMS credentials in the integration settings, and RouteX will pull claims automatically into the Landing Pad. This feature saves time and reduces the risk of human error ([ROUTE X Quick Start Guide, p. 36]).
Managing Imported Claims
- Once the claims are imported, you can schedule, update, or cancel them directly from the Landing Pad or calendar. RouteX continuously syncs with your CMS, ensuring that all changes are reflected in both systems ([ROUTE X Quick Start Guide, p. 36]).
7. RouteX Mobile App
How to Add RouteX to Your Phone (iOS & Android)
- Download the RouteX Pro app from the Apple App Store (for iOS users) or the Google Play Store (for Android users). The mobile app allows full functionality, including claim scheduling, map access, and text messaging features ([ROUTE X Quick Start Guide, p. 37]).
8. Troubleshooting & FAQs
Common Issues & Fixes
Claims not importing?
Ensure your Excel template is properly formatted, and check your internet connection.Text messages not sending?
Confirm that the insured’s phone number is entered correctly in the claim details or Excel file.Duplicate claims?
Avoid manual imports while the CMS integration is active to prevent duplication.
Frequently Asked Questions
Can I import claims from multiple sources?
Yes, RouteX allows you to import claims manually, from Xactanalysis, or through Excel files using the provided template.How often does RouteX check for new claims?
RouteX syncs regularly throughout the day. Once claims are imported, they appear on the Landing Pad.What do the map pin colors represent?
The color of the map pins corresponds to the claim’s status. New claims default to blue, while scheduled or inspected claims will change color.
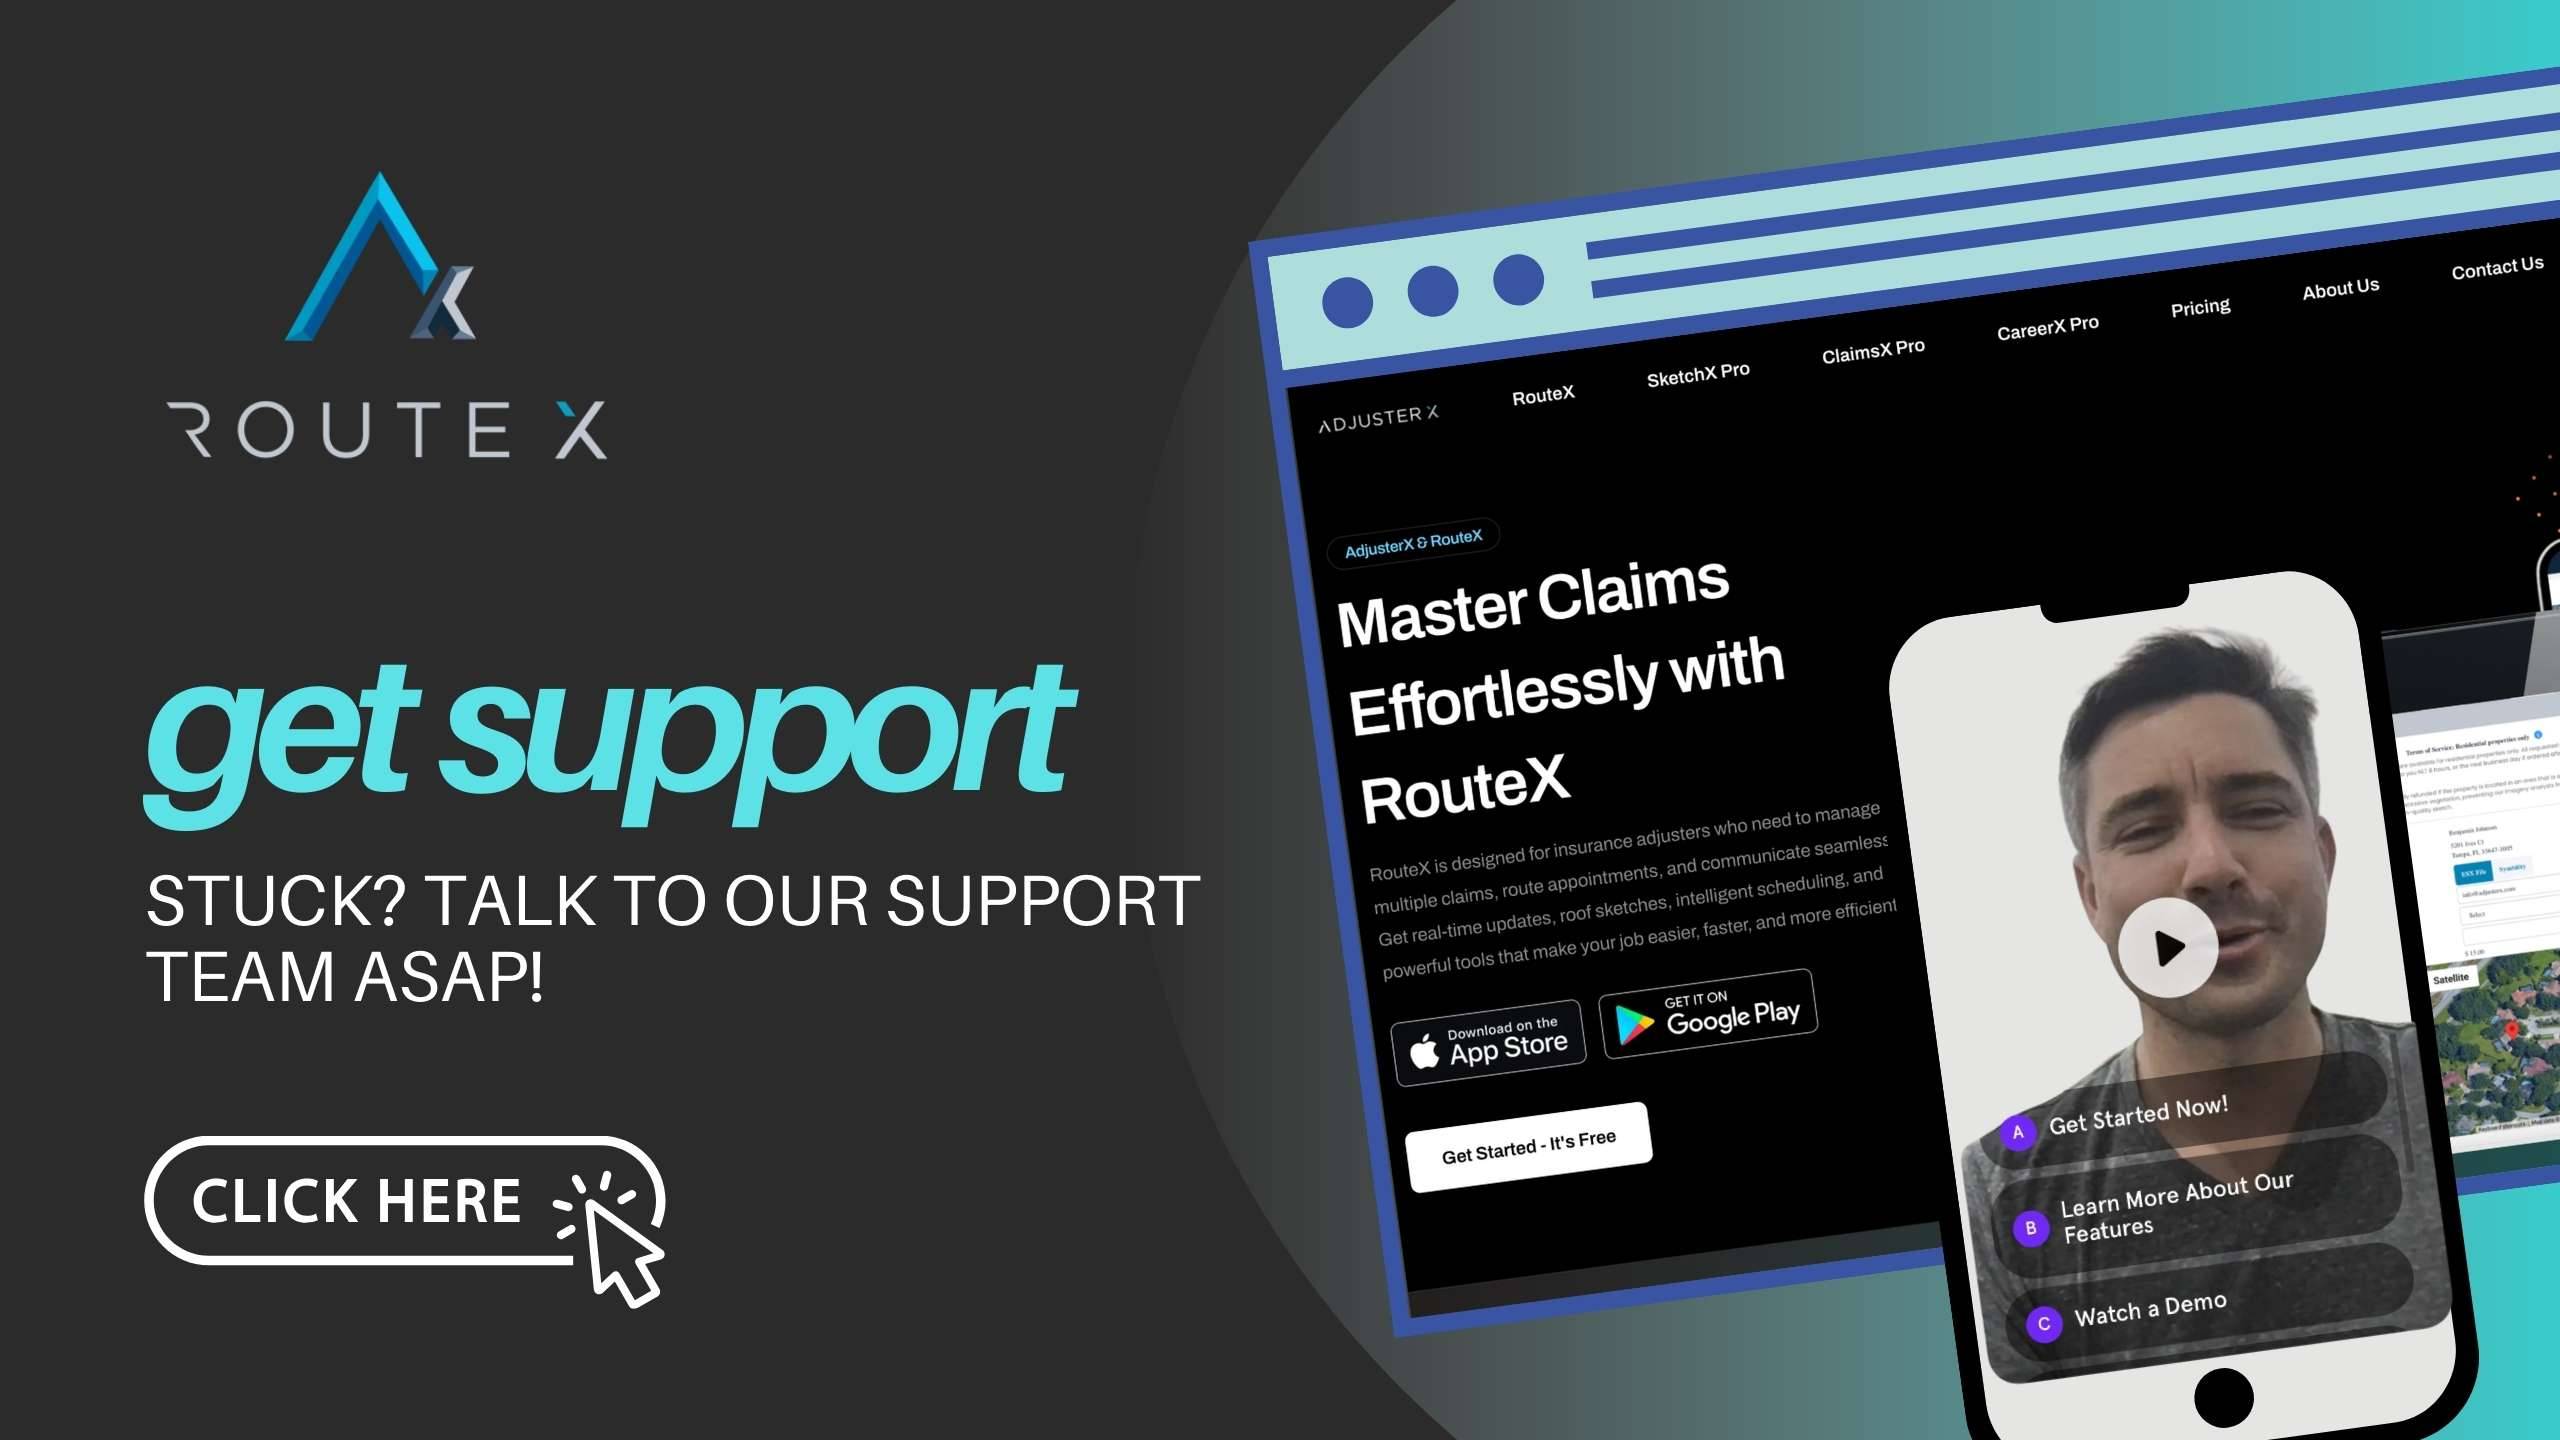
Need additional help? We're available - click below
RouteX integration with your CMS is a powerful tool that not only automates the claims import process but also helps streamline tasks like first contact and appointment settings. By setting up the integration correctly and following the best practices outlined in this guide, you’ll save time, reduce manual errors, and optimize your claims management workflow. Should any issues arise, the troubleshooting guide and FAQ section will help you resolve them quickly, ensuring that your claims process runs smoothly and efficiently.
Tags :
Share this article :