HomeResourcesUncategorizedRouteX – Setting Tab
RouteX – Setting Tab
Guide to Setting Tab in RouteX? Matt @AdjusterX RouteX Settings Tab Overview: A Comprehensive Guide The settings tab in RouteX is where […]
Guide to Setting Tab in RouteX?

Matt @AdjusterX
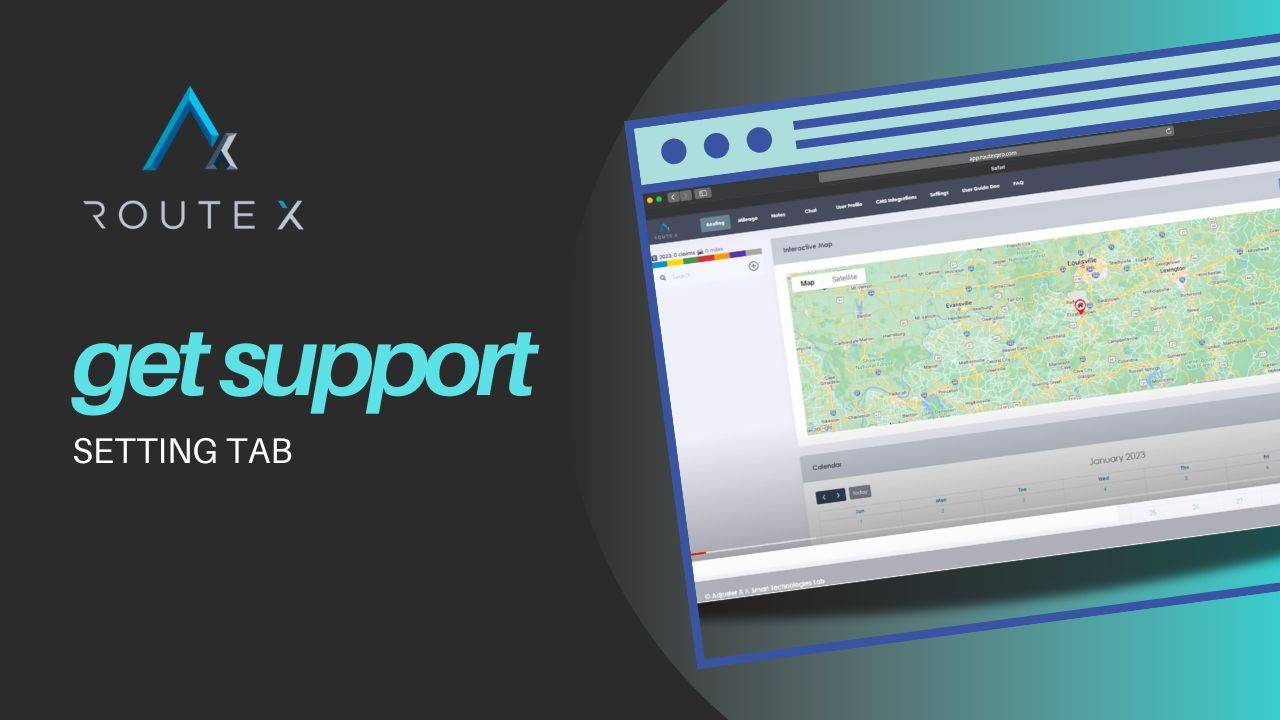
RouteX Settings Tab Overview: A Comprehensive Guide
The settings tab in RouteX is where you manage essential details related to your daily claim operations, from updating home and deployment addresses to setting your arrival windows and inspection times. These settings ensure that your appointments are correctly scheduled and that notifications to insureds are accurate and timely. In this guide, we’ll break down each aspect of the settings tab, explain its importance, and show you how to optimize it for your claims management workflow.
By the end of this guide, you’ll understand how the settings tab in RouteX works, the value of properly configuring your arrival and inspection windows, and how to avoid double-booking or incorrect notifications to insureds.

Benefits of Proper Settings Configuration in RouteX:
- Sends accurate arrival time windows to insureds.
- Prevents double-booking on your calendar.
- Automatically updates home and deployment addresses.
- Adjusts travel times and distances based on your active address.
Step-by-Step Setup of RouteX Settings
Here’s how to configure and optimize the settings tab in RouteX:
1. Access the Settings Tab
Start by logging into your RouteX account.
Navigate to the “Settings” tab from the main menu. This tab houses all of the key fields you’ll need to fill out to ensure your account is properly configured for claim scheduling and notifications.
2. Enter Your Home Address
Ensure that your home address is correctly inputted in the system. This is the address RouteX uses for calculating distances and travel times for local claims. If you are running daily claims, this home address is crucial for ensuring accurate scheduling.
3. Configure Arrival Window
The arrival window is the time frame sent to the insured via text message. For example, if your inspection is scheduled for 1:00 PM, RouteX will send a text indicating that you will arrive between 12:45 and 1:15 PM. Adjust the window based on your preferences, such as expanding it to an hour if needed.
4. Set Inspection Time
Your inspection time dictates how RouteX manages your calendar. If you set a one-hour inspection window, the system will ensure you cannot double-book appointments. For instance, if you have a 9:00 AM inspection scheduled, RouteX will prevent you from scheduling another claim until after 10:00 AM.
5. Deployment Settings
If you are leaving for a deployment, simply click the “Deployment” button in the settings tab and enter the new address. This temporary address allows RouteX to calculate distances and travel times for claims near your deployment location. You can later update this address once you find a more permanent base, such as a nearby hotel.
6. Monitor Address Changes
Once you’ve entered your deployment address, RouteX will use this as your active location. The system will automatically calculate travel times and distances for all incoming claims, based on this updated address.
7. Activate Deployment Mode
Once your deployment address is set, activate the “Deployment Mode.” This will ensure all incoming claims are routed based on your new address, not your home address. Mileage and estimated travel times for inspections will now be calculated from your deployment location.
Best Practices for Using the Settings Tab in RouteX
To get the most out of RouteX and ensure smooth operations, follow these best practices:
- Double-check your home and deployment addresses: Always ensure they are accurate to prevent scheduling issues.
- Configure the right arrival window: This is crucial for timely communication with the insured, ensuring they are aware of your inspection time.
- Set inspection times carefully: Prevent double-booking by ensuring your inspection windows are correctly set for each claim.
- Update deployment addresses on time: When deploying, enter a temporary address to begin claim routing and update later as needed.
Troubleshooting Guide
Even the best configurations might face occasional issues. Here’s how to handle common problems:
Problem 1: Incorrect Arrival Window Sent to Insured
Solution: Double-check the arrival window settings to ensure they are set for the correct time span. Verify that the inspection time was entered accurately for the scheduled claim.
Problem 2: Double-Booked Appointments
Solution: Check the inspection time setting to ensure it prevents overlap. The system should not allow double-booking if the inspection window is configured correctly.
Problem 3: Incorrect Deployment Address
Solution: Make sure the correct deployment address is entered in the settings. If you are not deployed, ensure your home address is still active.
Frequently Asked Questions (FAQ)
Q1: What is the arrival window in RouteX?
A1: The arrival window is the time frame sent to the insured regarding when to expect your arrival. For example, if your inspection is set for 1:00 PM, the system might notify the insured that you will arrive between 12:45 and 1:15 PM.
Q2: Can I prevent double-booking in RouteX?
A2: Yes. RouteX’s settings allow you to prevent double-booking by ensuring your inspection time is configured. For instance, if a claim is scheduled for 9:00 AM, the system will block another appointment from being set between 9:00 and 10:00 AM.
Q3: How does RouteX handle deployment addresses?
A3: When you are on deployment, simply enter a temporary address in the settings tab. RouteX will then calculate travel times and distances from this location until you update the address or return home.
Q4: How often should I update my settings?
A4: Regularly update your home or deployment address, as well as your arrival and inspection windows, to ensure all operations run smoothly and claims are properly scheduled.
Conclusion
The settings tab in RouteX is a crucial tool for managing claim schedules, preventing double bookings, and sending accurate arrival times to insureds. By properly configuring your home and deployment addresses, and carefully setting your inspection times, you can streamline your claims management process and avoid scheduling errors. Following the best practices and troubleshooting steps outlined in this guide will ensure a seamless operation.
Tags :
Share this article :