HomeResourcesProductivity & Workflow TipsRoute OptimizationHow to Move Claims to the Calendar in RouteX
How to Move Claims to the Calendar in RouteX
Learn how to quickly move insurance claims to your RouteX calendar for better scheduling and workflow efficiency.
How to move claims to the calendar in RouteX?

Matt @AdjusterX
Intro to RouteX Integration with your CMS
What you’ll find in here: In this guide, we’ll dive deep into how AdjusterX integrates RouteX with your Claims Management System (CMS) for a seamless and efficient claims import process. RouteX allows you to automate the import of claims from ExactAnalysis or Symbility, eliminating manual effort and preventing duplication errors. Through CMS integration, users can streamline contact attempts, set appointments automatically, and ensure claim statuses are updated in real-time. This integration optimizes claim management, saving time and improving accuracy. We’ll walk you through the entire process step-by-step and provide solutions to common issues.

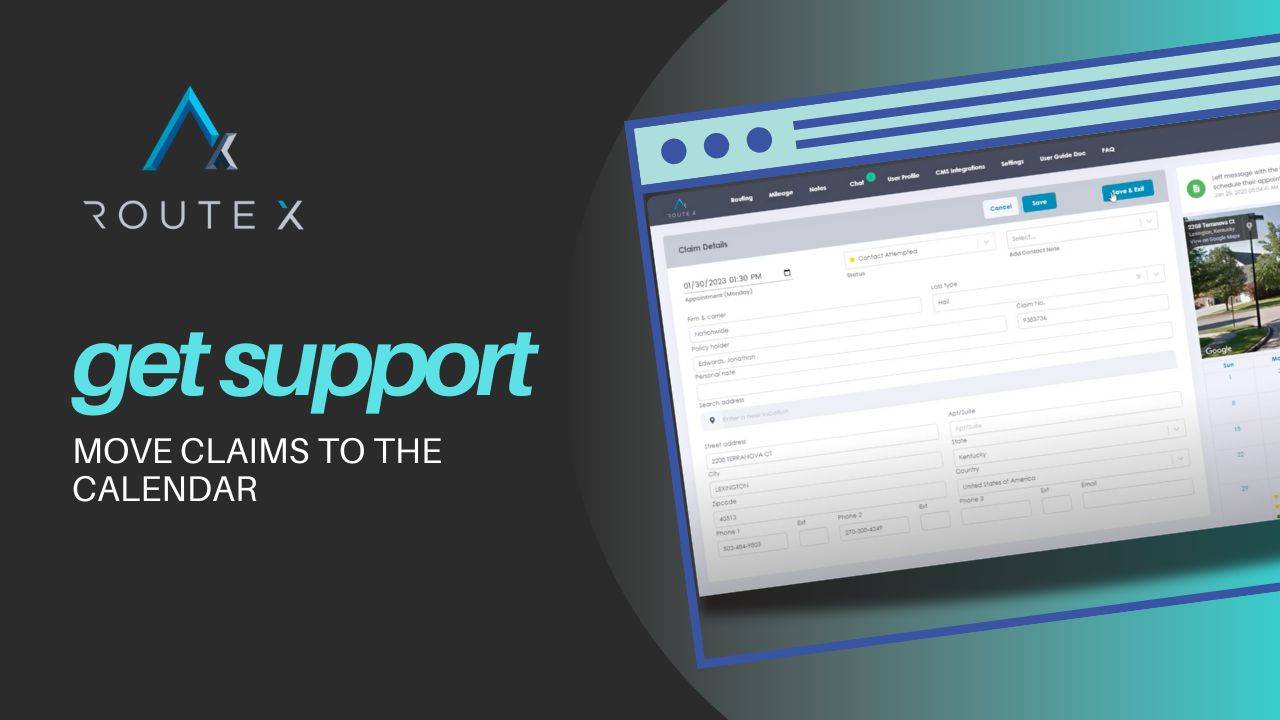
RouteX Moving Claims from the Landing Pad to the Calendar: A Comprehensive Guide
In this guide, we’ll show you how to move claims from the Landing Pad to the calendar in RouteX. Scheduling claims efficiently is crucial for managing inspections and maintaining a smooth workflow. RouteX makes it easy to drag and drop claims onto the calendar while providing tools to check the claim details, adjust scheduling based on weather, and even send appointment confirmation messages.
By the end of this guide, you’ll know how to move claims, use the weather forecast, and manage your calendar for optimal efficiency.
Benefits of Moving Claims to the Calendar:
- Allows for easy scheduling of inspections based on proximity and time.
- Gives you a full overview of weather conditions, ensuring inspections are set for optimal days.
- Provides a clear view of inspection routes, reducing travel time.
- Automatically syncs claim details and integrates with contact features.
Step-by-Step Process for Moving Claims to the Calendar
Here’s how to move claims from the Landing Pad to the calendar:
1. Understanding the Claim Status Colors
At the top of the Landing Pad, you’ll see a rainbow-colored bar that indicates the status of each claim:
- Blue: New claim, nothing done yet.
- Yellow: Contact attempted.
- Green: Confirmed.
- Red: Needs rescheduling.
This color system helps you quickly identify which claims need action and which are already scheduled.
2. Reviewing Claims on the Landing Pad
Each claim on the Landing Pad displays essential information such as the name of the insured, the type of claim (e.g., wind, hail), and the estimated travel time from your home or deployment address.
You can identify claims by clicking on the pins on the map. When you click a pin, it shows the insured’s name and travel time, helping you plan routes and decide how to group claims.
3. Checking Street View for Inspections
Before scheduling a claim, you can use the Street View feature. Click on the address from the claim details to see a street view of the property. This helps you assess the type of inspection needed (e.g., roof access, mobile home inspection) and allocate appropriate time on the calendar.
Scheduling Claims Based on Proximity and Weather
1. Use the Map for Routing
The map shows the proximity of claims to your location. You can click on each claim pin to see the insured’s details and use the travel times to plan an efficient route.
2. Drag and Drop Claims onto the Calendar
To schedule a claim, drag it from the Landing Pad and drop it onto the calendar. For example, if Brian Logan is 58 minutes away, you might set his appointment for 10:00 AM. The system will adjust the weather forecast based on the ZIP code of the claim, helping you plan the inspection accordingly.
As you schedule additional claims, the map will update with numbers (1, 2, 3, etc.), showing the order of your inspections.
3. Consider Travel Time Between Claims
As you schedule multiple claims, RouteX calculates the travel time between appointments. For example, if John Walker is 9 minutes from Brian Logan, you can schedule him at 11:30 AM, leaving time for travel and the inspection.
4. Using the Weather Forecast
RouteX provides a 14-day weather forecast to help you plan your inspections. For each claim, the forecast will adjust based on the ZIP code, ensuring you schedule inspections on optimal days. For instance, if a claim shows light snow or rain, you might reschedule it to a day with better weather conditions.
Using Text Messaging for Connected Users
For users on the Connected Plan, RouteX offers integrated text messaging to streamline communication with insureds. Here’s how to use it:
1. Sending an Appointment Confirmation
Right-click on the scheduled claim and select Start Contact. This sends an automated text message to the insured, confirming the inspection time and offering them the chance to confirm or request a different time.
2. Reviewing Responses
Once the text message is sent, you can monitor responses. A confirmed appointment turns Green, while a rescheduling request turns Red. RouteX automatically updates the calendar based on the insured’s response.
3. Adjusting the Appointment
If the insured requests a different time, you can move the claim on the calendar to the requested time and send a new confirmation. The system will automatically adjust the claim status and notify the insured.
Best Practices for Moving Claims to the Calendar
To make the most of the scheduling features, here are some best practices:
- Group claims by location: Use the map and travel time estimates to schedule inspections in clusters, minimizing driving time.
- Use the weather forecast: Check the 14-day forecast and avoid scheduling inspections during poor weather conditions.
- Leave buffer time: Build in extra time between inspections to account for unexpected delays or additional claim work.
- Use Street View for preparation: Before scheduling, check the street view of the property to estimate the complexity of the inspection.

Troubleshooting Guide
Here are common challenges you may face while scheduling claims and how to resolve them:
Problem 1: Overlapping or Tight Scheduling
Solution: When scheduling claims, make sure to leave adequate time between appointments. You can easily move a claim to a different time slot by dragging it to a new position on the calendar.
Problem 2: Weather Complications
Solution: If the weather forecast shows poor conditions, reschedule the inspection to a better day. Use the 14-day weather forecast on the calendar to plan ahead.
Problem 3: Claim Not Showing Correct Status
Solution: Make sure to update the claim status manually or through the automatic text messaging system to ensure it shows the correct color on the calendar.
Frequently Asked Questions (FAQ)
Q1: How do I move claims from the Landing Pad to the calendar?
A1: Drag and drop the claim from the Landing Pad onto the desired time slot on the calendar. RouteX will automatically update the weather forecast and show the travel time.
Q2: Can I see the property before scheduling an inspection?
A2: Yes, use the Street View feature by clicking on the claim’s address. This allows you to preview the property and assess the inspection complexity.
Q3: How does RouteX handle travel time between claims?
A3: RouteX calculates travel time between claims and shows it on the map, allowing you to schedule inspections efficiently based on proximity.
Q4: What happens if the insured needs to reschedule?
A4: If you’re using the Connected Plan, the insured can request a new time via text message. You can then reschedule the claim on the calendar and send a new confirmation.
Conclusion
Moving claims from the Landing Pad to the calendar in RouteX is a simple and efficient process that helps you schedule inspections based on location, travel time, and weather conditions. By following the steps in this guide, you’ll be able to quickly organize your claims, ensure optimal scheduling, and keep track of all appointments with ease. For Connected Plan users, text messaging adds an extra layer of convenience, allowing you to confirm appointments and adjust schedules in real-time.
Tags :
Share this article :