How to manually import claims in RouteX?

Matt @AdjusterX

RouteX Manual Claim Import: A Comprehensive Guide
In this guide, we’ll walk you through the process of manually importing claims into RouteX. Whether you’re adding claims one by one, importing them from ExactAnalysis, or using an Excel file, RouteX provides efficient ways to handle each process. We’ll cover the steps involved in manual imports, provide tips on avoiding common errors, and explore best practices for managing claims effectively.
By the end of this guide, you’ll understand how to manually import claims, export from ExactAnalysis, and streamline your process to save time and avoid duplication.
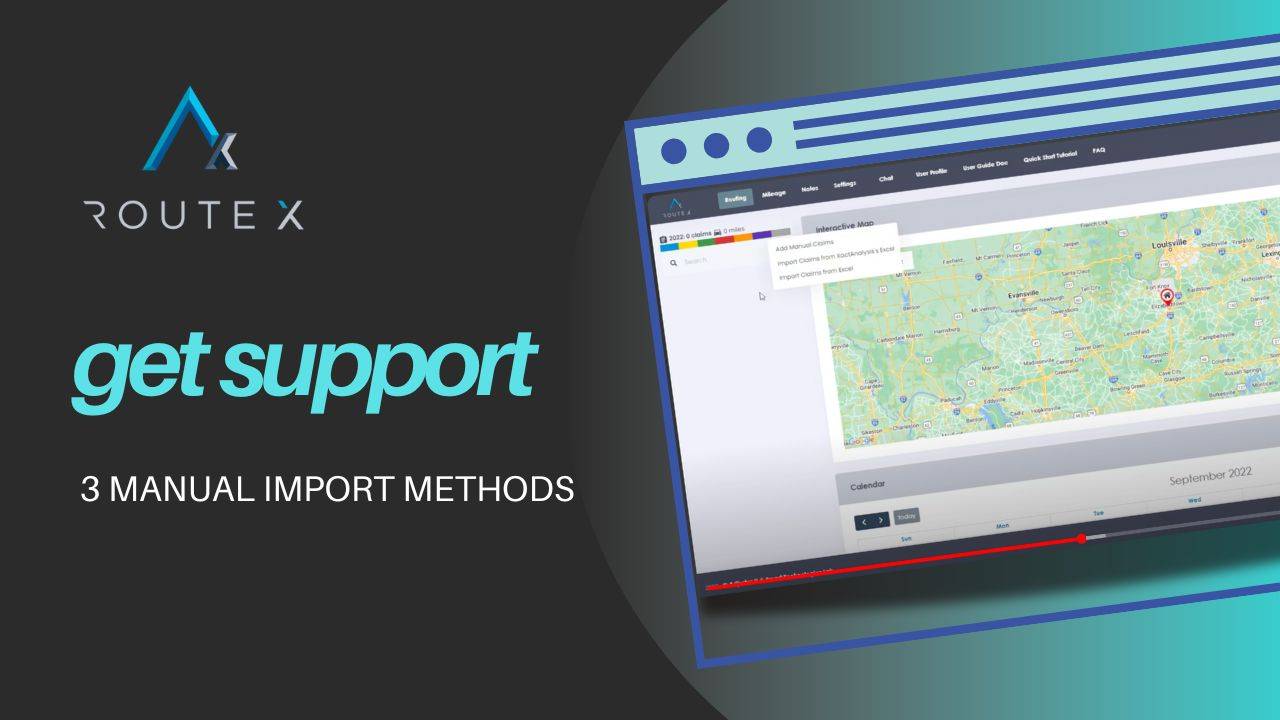
Benefits of Manual Claim Import:
- Add single or multiple claims manually, directly into RouteX.
- Import claims from ExactAnalysis exports.
- Upload claims via custom Excel templates.
- Review and manage claims on the Landing Pad before scheduling them.
Step-by-Step Setup for Manual Claim Import
Here’s how to manually add claims into RouteX:
1. Adding a Single Claim Manually
If you’re only adding one claim, click on the + sign in RouteX.
Select “Add Manual Claim” from the menu. This will open a new form where you can enter all the relevant claim information.
2. Input the Claim Details
Enter the insured’s name, address, and other essential claim details. These basic fields are required for the claim to populate correctly.
Once you’ve filled in the necessary information, click Save.
The claim will appear on the Landing Pad, where you can then drag and drop it onto the calendar for scheduling.
3. Deleting a Claim from the Landing Pad
If you need to remove a claim, select the claim on the Landing Pad, go to Status, and click Cancelled. This will permanently remove the claim from RouteX.
Importing Claims from ExactAnalysis
If you prefer to import claims in bulk from ExactAnalysis, follow these steps:
1. Export from ExactAnalysis
First, log into ExactAnalysis and go to the ExactAnalysis tab at the top of the screen.
Click Search to bring up your list of claims.
Select the claims you want to import into RouteX and then choose Download Details to Excel.
2. Save the Exported File
Once the Excel file is downloaded, save it in a folder on your desktop for easy access. Name the file based on the current date for better organization (e.g., 9_29_2022.xlsx).
3. Upload the File into RouteX
Return to RouteX and click the + sign again.
This time, select Import Claims from XactAnalysis Excel.
Drag and drop the saved Excel file into the designated area on the screen. RouteX will automatically import the claims, which will populate on the Landing Pad for further action.
4. Quick Tip for Faster Imports
The ExactAnalysis export file often leaves certain fields like phone numbers or cause of loss blank. To avoid having to input this data later, you can manually add the phone numbers and cause of loss directly into the Excel sheet before importing. This will save you time, as the claims will come into RouteX fully populated.
Importing Claims from Excel
For claims from other sources, you can use a custom Excel file to import data into RouteX. Here’s how:
1. Download the RouteX Excel Template
Click the + sign and choose Import Claims from Excel.
Download the Import File Template provided by RouteX. This file has the exact structure RouteX needs to process claims correctly.
2. Fill Out the Template
Open the downloaded template and enter the claim information, making sure to include at least the name and address.
Save the completed file with an easily identifiable name in your desktop folder.
3. Upload the Completed File
Drag the completed Excel file into the upload area within RouteX.
Once uploaded, the claims will appear on the Landing Pad, ready for scheduling.
Important Notes:
- Do not modify the headers in the Excel template, as RouteX relies on these specific fields for accurate imports.
- Any deviations from the template structure could result in errors during the import process.
Best Practices for Manual Claim Import
To ensure a smooth import process, here are some best practices:
- Organize your files by date: When saving exported claims, include the date and time in the file name for easy tracking.
- Pre-populate phone numbers and loss information: This saves you time during the claim scheduling process.
- Use the Landing Pad for review: After importing, review the claims on the Landing Pad before dragging them to the calendar.

Troubleshooting Guide
Even the best systems can encounter issues. Here are common problems and how to resolve them:
Problem 1: Claims Not Importing Correctly
Solution: Ensure that the Excel template has not been altered. Verify that all required fields, like name and address, are filled out. If the problem persists, check the format of the Excel file.
Problem 2: Phone Numbers Missing After Import
Solution: Manually add phone numbers to the Excel sheet before importing. This will ensure they are included in the claim details.
Problem 3: Claim Fails to Appear on the Calendar
Solution: After importing, claims will first appear on the Landing Pad. Drag and drop them from the Landing Pad to the calendar to schedule.
Frequently Asked Questions (FAQ)
Q1: Can I add claims manually one by one?
A1: Yes, RouteX allows you to manually add claims one at a time through the + sign option.
Q2: How can I import claims from ExactAnalysis?
A2: You can export claims from ExactAnalysis into an Excel file, then upload the file into RouteX via the Import Claims from XactAnalysis Excel option.
Q3: What should I do if I have claims from another source?
A3: Use the RouteX Excel template to enter the claim information and then upload the file via the Import Claims from Excel option.
Q4: Can I modify the headers in the RouteX Excel template?
A4: No, the headers in the template must remain unchanged for the import to work correctly.
Conclusion
Manually importing claims into RouteX, whether one at a time or in bulk from ExactAnalysis or Excel, is a straightforward process that helps streamline your claim management. By following the steps outlined in this guide, you can ensure that your claims are properly imported and ready for scheduling. Use the best practices and troubleshooting tips provided to optimize your workflow and save time.
Tags :
Share this article :